The Ultimate Baked Mac and Cheese
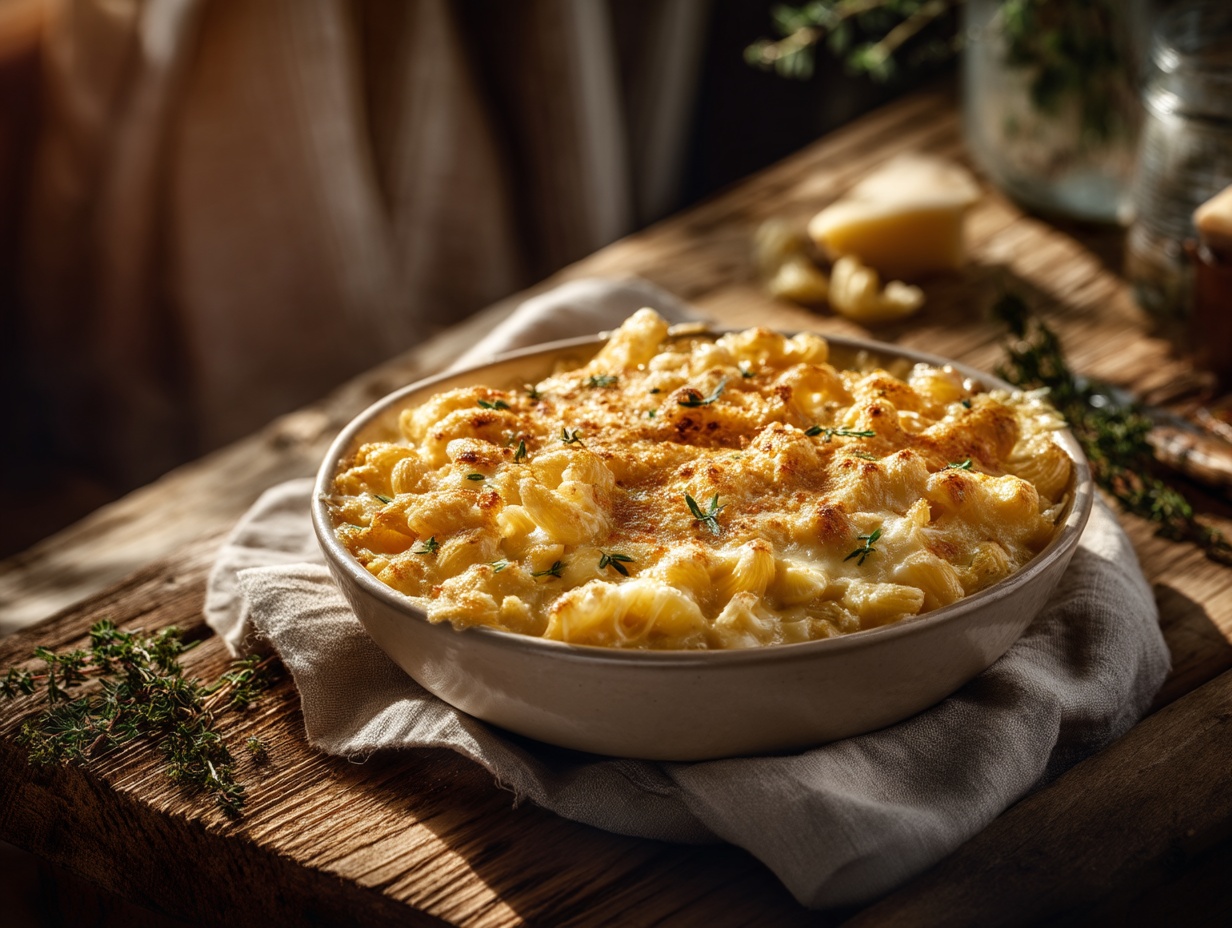
Few dishes deliver comfort quite like a bubbling, golden-topped baked mac and cheese fresh from the oven. This classic American favorite combines tender pasta with a creamy, velvety cheese sauce, all crowned with a crispy breadcrumb topping that shatters with every bite. This recipe strips away unnecessary complications while keeping all the flavor you crave.
You’ll achieve restaurant-quality results with just a handful of everyday ingredients and about 30 minutes of your time. The secret lies in building a proper cheese sauce from scratch – it’s easier than you think and infinitely better than anything from a box. Once you master this recipe, you’ll never go back to the packaged version again.
Nutrition Facts
Per 100 g serving:
- Calories: 245 kcal
- Protein: 10 g
- Carbohydrates: 22 g
- Fat: 13 g
*Note: Values are approximate and may vary based on specific ingredients used.*
Ingredients
- 250 g elbow macaroni (or other short pasta)
- 3 tablespoons butter
- 3 tablespoons all-purpose flour
- 500 ml whole milk
- 250 g sharp cheddar cheese, shredded
- 50 g mozzarella cheese, shredded
- 1/2 teaspoon salt
- 1/4 teaspoon black pepper
- 50 g breadcrumbs (panko or regular)
Step-by-Step Instructions
1. Preheat the oven and prepare your baking dish
Set your oven to 190°C (375°F) and position a rack in the middle. Lightly grease a 2-liter baking dish with butter or cooking spray.
This ensures even cooking and prevents the mac and cheese from sticking. A hot oven is essential for achieving that perfect golden crust on top.
2. Cook the pasta until just al dente
Bring a large pot of salted water to a rolling boil. Add the elbow macaroni and cook for 1-2 minutes less than the package directions suggest.
Drain the pasta but don’t rinse it – that starchy coating helps the cheese sauce cling beautifully. The pasta will continue cooking in the oven, so undercooking it slightly prevents mushy results.
3. Make the roux
In a large saucepan over medium heat, melt the butter completely. Whisk in the flour and cook for about 1 minute, stirring constantly.
This mixture, called a roux, forms the foundation of your cheese sauce. Cooking it briefly removes the raw flour taste and creates a smooth base for the milk.
4. Add the milk gradually
Slowly pour in the milk while whisking continuously. Start with just a splash to create a thick paste, then gradually add more.
Keep whisking to prevent lumps from forming. The sauce will look thick and clumpy at first but will smooth out as you add more liquid.
5. Simmer until thickened
Continue cooking the sauce over medium heat for 4-5 minutes, stirring frequently. The mixture should thicken enough to coat the back of a spoon.
Don’t rush this step – patience here rewards you with a silky, luxurious texture. If you notice any lumps, simply whisk more vigorously.
6. Melt in the cheese
Remove the saucepan from heat and add the shredded cheddar and mozzarella. Stir until completely melted and smooth.
Season with salt and pepper, tasting as you go. Taking the pan off the heat prevents the cheese from becoming grainy or separating.
7. Combine pasta and cheese sauce
Add the drained pasta directly into the cheese sauce. Fold everything together gently until every piece of macaroni is coated.
Work quickly while the sauce is still warm and pourable. The pasta will absorb some of the sauce, which is exactly what you want.
8. Transfer to the baking dish
Pour the mac and cheese mixture into your prepared baking dish. Use a spatula to spread it evenly and press down gently.
Make sure the surface is relatively flat for even browning. The edges will get slightly crispier, which many people consider the best part.
9. Add the breadcrumb topping
Sprinkle the breadcrumbs evenly over the top of the mac and cheese. For extra richness, drizzle with a tablespoon of melted butter.
The breadcrumbs create that irresistible contrast between crunchy topping and creamy interior. Panko breadcrumbs give an especially crispy result.
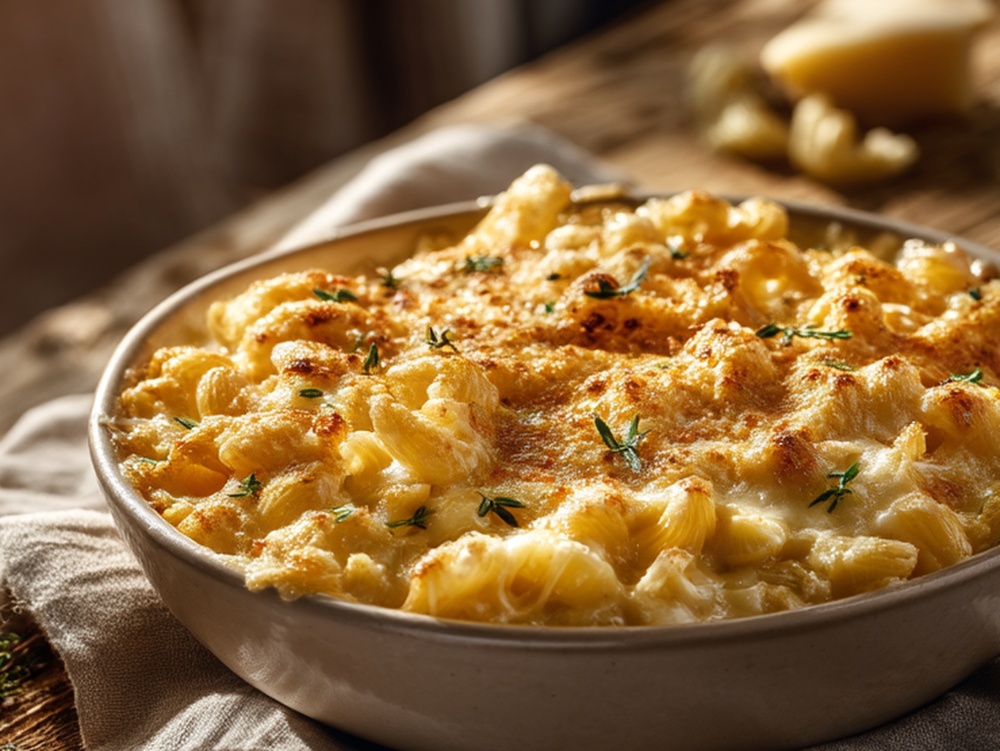
10. Bake until golden and bubbling
Place the dish in your preheated oven and bake for 15-20 minutes. You’re looking for a golden-brown top with cheese sauce bubbling around the edges.
Let it rest for 5 minutes before serving – this allows the sauce to set slightly and prevents burned tongues. The aroma filling your kitchen will make the wait difficult!
Tips for Variations or Side Dishes
Cheese Variations: Experiment with different cheese combinations. Gruyère adds nuttiness, smoked gouda brings depth, and pepper jack introduces a subtle kick.
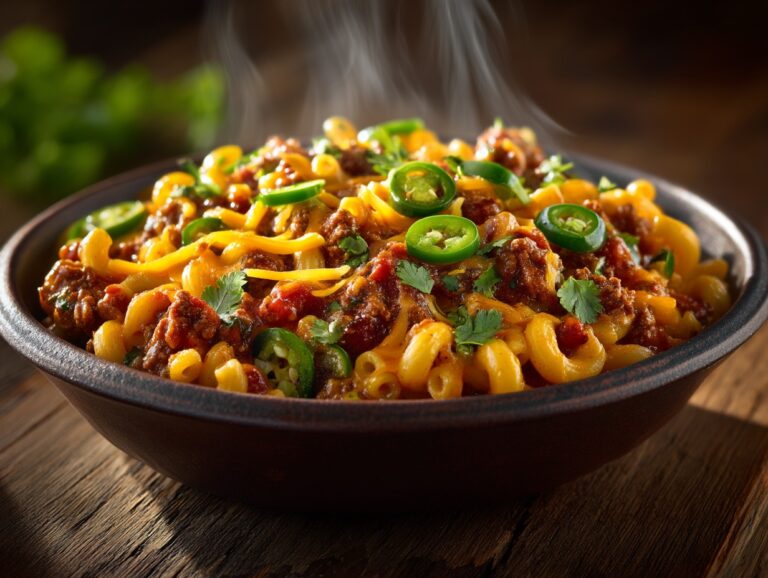
Add-Ins: Fold in cooked bacon bits, sautéed mushrooms, or steamed broccoli florets before baking. Diced jalapeños or a dash of hot sauce work wonderfully for spice lovers.
Topping Upgrades: Mix your breadcrumbs with grated Parmesan, dried herbs, or crushed crackers for extra flavor and texture.
Perfect Side Dishes: Serve alongside a crisp green salad with tangy vinaigrette to cut through the richness. Steamed green beans, roasted tomatoes, or a simple coleslaw also complement this dish beautifully.
Serving Suggestions
Serve your baked mac and cheese straight from the oven while it’s still bubbling and gorgeous. Bring the entire baking dish to the table for a family-style presentation that invites everyone to dig in.
For individual servings, use a large spoon to scoop generous portions, making sure everyone gets some of that crispy top layer. A sprinkle of fresh chopped parsley or chives adds color and freshness.
This dish shines as a main course for a cozy weeknight dinner or as a beloved side at holiday gatherings and potlucks. It pairs wonderfully with grilled chicken, pulled pork, or simple roasted vegetables.
FAQ
1. Can I make this mac and cheese ahead of time?
Absolutely! Assemble the dish completely but skip the breadcrumb topping. Cover tightly with plastic wrap and refrigerate for up to 24 hours. Add breadcrumbs just before baking, and add 10 extra minutes to the baking time since it’s starting cold.
2. How should I store leftovers?
Transfer cooled mac and cheese to an airtight container and refrigerate for up to 4 days. Reheat individual portions in the microwave with a splash of milk to restore creaminess, or cover with foil and warm in a 175°C oven until heated through.
3. Why did my cheese sauce turn grainy?
Grainy sauce usually results from overheating the cheese or adding it while the sauce is too hot. Always remove your pan from heat before adding cheese, and use freshly shredded cheese rather than pre-shredded varieties, which contain anti-caking agents that affect texture.
4. Can I use a different type of pasta?
Yes! Shells, cavatappi, penne, or rotini all work wonderfully. Choose shapes with ridges or hollow centers that capture the cheese sauce. Adjust cooking time according to the pasta shape you select.
5. How can I make this recipe gluten-free?
Substitute gluten-free pasta and use a gluten-free flour blend for the roux. Replace regular breadcrumbs with gluten-free panko or crushed gluten-free crackers. The cheese sauce technique remains exactly the same.