Classic Homemade Stuffing Recipe
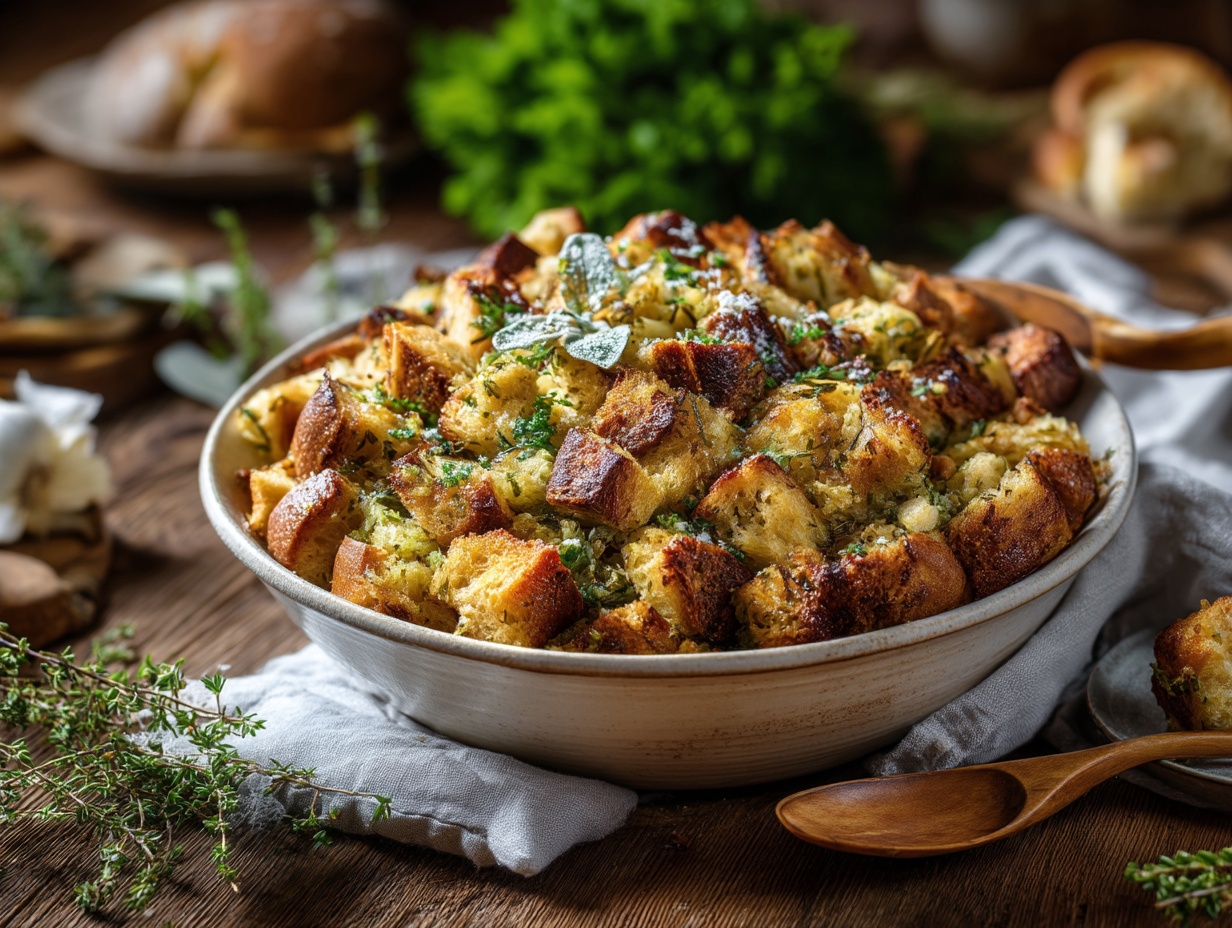
There’s something magical about a perfectly seasoned stuffing that brings comfort to any meal. This classic stuffing recipe delivers golden, crispy edges with a soft, herb-infused center that will have everyone asking for seconds. You don’t need to wait for a special occasion to enjoy this beloved side dish.
With simple ingredients and just 30 minutes of prep time, you can create a stuffing that tastes like it took hours to prepare. This recipe uses pantry staples and fresh herbs to build layers of savory flavor. The result is a dish that pairs beautifully with roasted meats, makes a satisfying vegetarian main course, or stands alone as the ultimate comfort food.
Nutrition Facts
Per 100g serving:
- Calories: 165 kcal
- Protein: 4.5g
- Carbohydrates: 22g
- Fat: 7g
Ingredients
- 400g day-old bread, cubed (about 8 cups)
- 80g unsalted butter
- 1 large onion, diced
- 3 celery stalks, diced
- 2 cloves garlic, minced
- 2 teaspoons dried sage
- 1 teaspoon dried thyme
- 350ml chicken or vegetable broth
- Salt and pepper to taste
Step-by-Step Instructions
1. Prepare Your Bread Cubes
Start by cutting your day-old bread into 2cm cubes and spreading them on a large baking sheet. If your bread is fresh, you can dry it out by baking it at 150°C for 10 minutes.
Dry bread is essential for great stuffing because it absorbs the flavorful broth without becoming mushy. Place the cubes in a large mixing bowl and set aside while you prepare the aromatics.
2. Preheat the Oven
Set your oven to 180°C (350°F) and position the rack in the center. Lightly grease a 23x33cm baking dish with butter or cooking spray.
Preheating ensures your stuffing will cook evenly and develop that coveted golden crust on top. The center position allows for proper air circulation around the dish.
3. Sauté the Aromatics
Melt the butter in a large skillet over medium heat. Add the diced onion and celery, cooking for 5-7 minutes until they become soft and translucent.
Stir in the minced garlic during the last minute of cooking. This timing prevents the garlic from burning while still releasing its wonderful aroma.
4. Add the Herbs and Seasonings
Sprinkle the dried sage and thyme into the skillet with the vegetables. Stir everything together and cook for about 30 seconds until fragrant.
Season generously with salt and pepper. The herbs will bloom in the warm butter, intensifying their flavors and creating the signature stuffing taste everyone loves.
5. Combine the Wet and Dry Ingredients
Pour the sautéed vegetable mixture over the bread cubes in your mixing bowl. Toss gently to distribute the buttery vegetables evenly throughout.
Slowly drizzle the warm broth over the mixture while folding with a spatula. You want the bread to be moistened but not soggy. The stuffing should hold together when pressed but not be wet.
6. Transfer to the Baking Dish
Spoon the stuffing mixture into your prepared baking dish. Spread it out evenly but don’t pack it down too tightly.
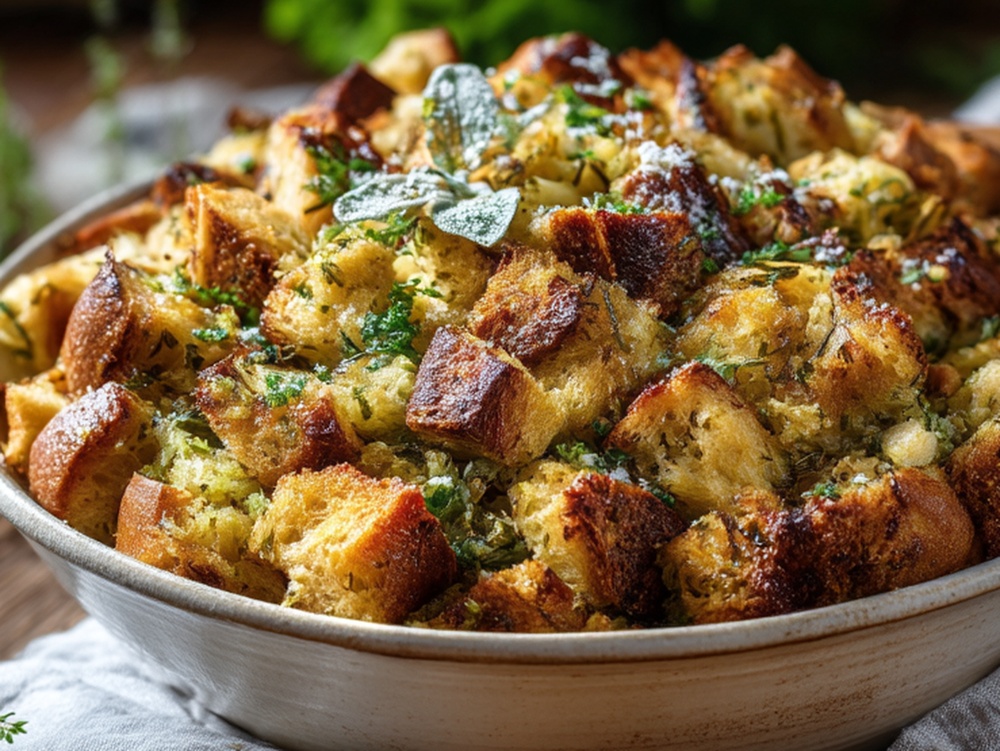
A loosely packed stuffing allows hot air to circulate, creating more crispy bits on top. These golden, crunchy pieces are often everyone’s favorite part.
7. Bake Until Golden
Place the baking dish in your preheated oven and bake for 30-35 minutes. The stuffing is ready when the top turns golden brown and the edges are slightly crispy.
If you prefer extra crunch, broil for the last 2-3 minutes while watching carefully. Let the stuffing rest for 5 minutes before serving to allow it to set slightly.
Tips for Variations or Side Dishes
For a heartier stuffing, add 100g of cooked and crumbled sausage or bacon to the mixture. The extra protein transforms this into a more substantial dish.
Try adding dried cranberries and chopped walnuts for a festive version with sweet and nutty notes. This variation pairs exceptionally well with turkey or pork.
Fresh mushrooms sautéed with the onions and celery create an earthy, umami-rich stuffing. Use cremini or shiitake mushrooms for the best flavor.
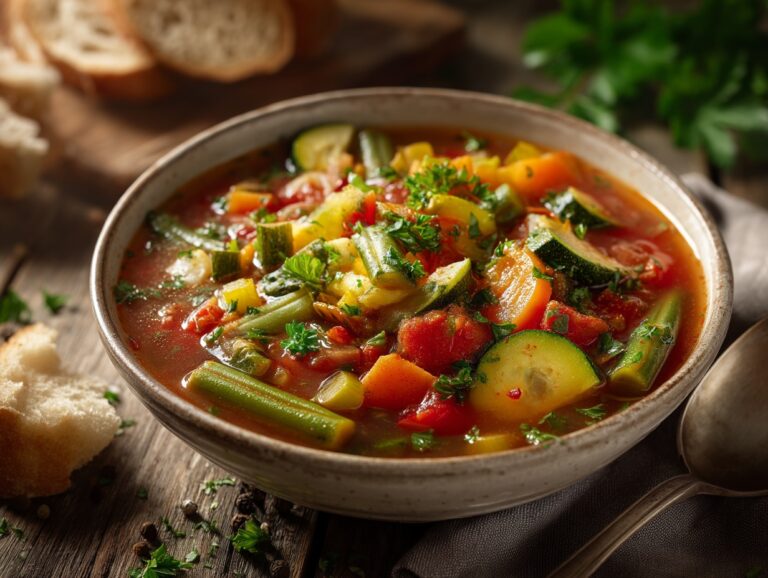
This stuffing pairs perfectly with roasted chicken, turkey, or pork tenderloin. For vegetarian meals, serve alongside roasted vegetables and a fresh green salad.
Consider making gravy to drizzle over the top, or serve with cranberry sauce for a classic combination.
Serving Suggestions
Serve this stuffing warm, straight from the oven, when it’s at its absolute best. Spoon generous portions onto warm plates alongside your main protein.
Garnish with fresh parsley or sage leaves for a beautiful presentation. A drizzle of pan drippings or gravy takes it to the next level.
For buffet-style serving, keep the stuffing warm in a slow cooker on the low setting. This method maintains the texture for up to 2 hours without drying out.
Individual servings baked in muffin tins make an elegant presentation for dinner parties. These single-portion stuffing cups develop crispy edges all around.
FAQ
1. Can I make this stuffing ahead of time?
Yes, you can assemble the stuffing up to 24 hours in advance. Store it covered in the refrigerator, then add an extra 10 minutes to the baking time since it will be cold.
2. What’s the best type of bread for stuffing?
White bread, French bread, or sourdough all work beautifully in this recipe. The key is using bread that’s at least one day old so it can properly absorb the broth without falling apart.
3. How should I store leftovers?
Store leftover stuffing in an airtight container in the refrigerator for up to 4 days. Reheat in a 180°C oven for 15-20 minutes, adding a splash of broth to restore moisture.
4. Can I make this stuffing gluten-free?
Absolutely! Simply substitute the regular bread with your favorite gluten-free bread cubes. Make sure your broth is also certified gluten-free, and the recipe works just as well.
5. Is it safe to stuff this mixture inside a turkey?
For food safety, it’s recommended to bake stuffing separately in a dish rather than inside poultry. If you do stuff a turkey, ensure the internal temperature of the stuffing reaches 74°C (165°F).