Fluffy Buttermilk Biscuits Recipe
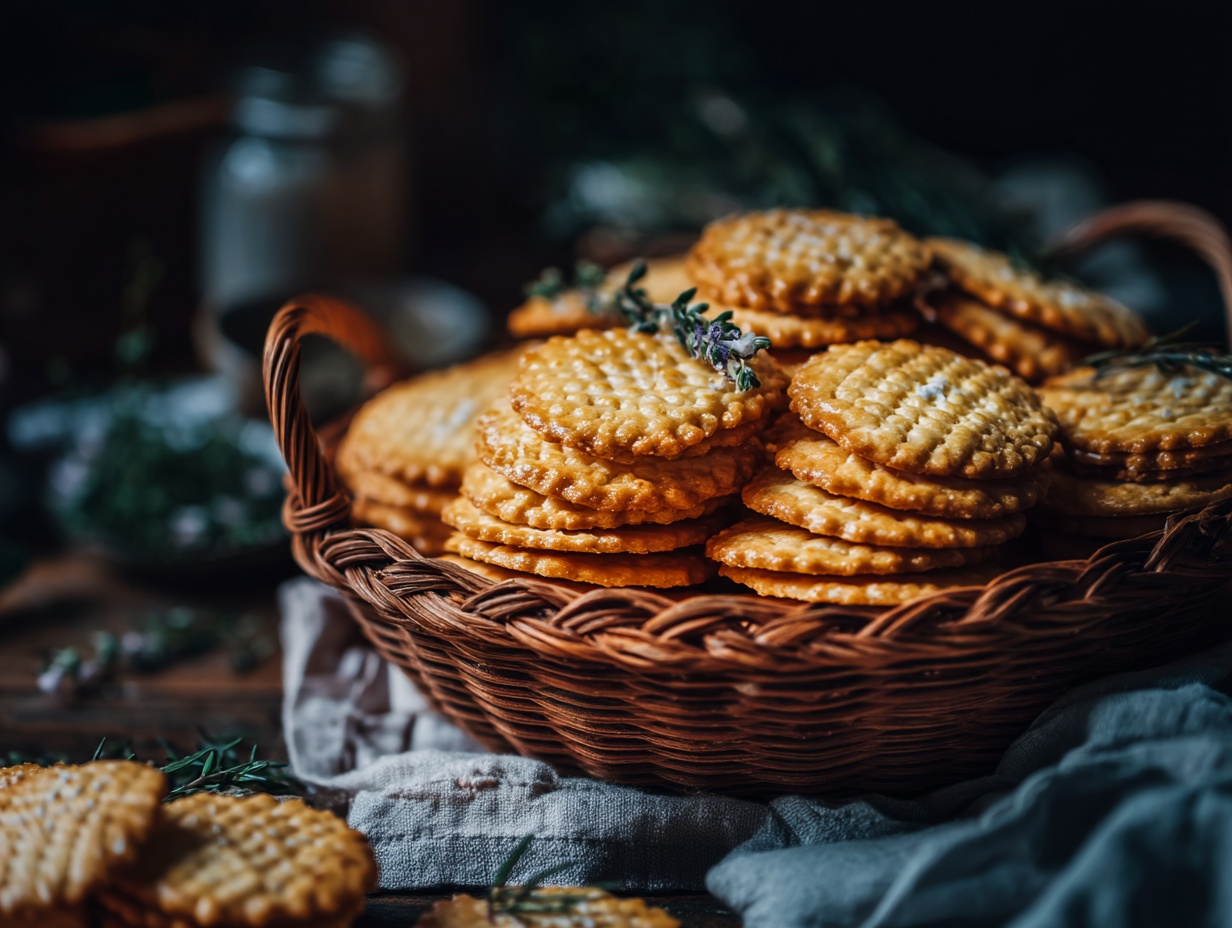
There’s something truly magical about a warm, fluffy buttermilk biscuit fresh from the oven. The golden, flaky layers practically melt in your mouth, releasing that unmistakable tang of buttermilk with every bite. This classic Southern staple has earned its place at breakfast tables, dinner spreads, and everything in between for good reason. It’s simple, satisfying, and incredibly versatile.
The best part? You don’t need to be an experienced baker to master these beauties. With just a handful of pantry staples and about 25 minutes of your time, you’ll have a batch of tender, sky-high biscuits that rival any restaurant version. These biscuits are perfect for lazy weekend mornings, holiday gatherings, or any time you’re craving comfort food at its finest. Once you taste homemade buttermilk biscuits, you’ll never want to reach for the canned version again.
Nutrition Facts
Per 100 g (approximately 1.5 biscuits):
- Calories: 320 kcal
- Protein: 6 g
- Carbohydrates: 38 g
- Fat: 16 g
- Fiber: 1.2 g
- Sodium: 580 mg
Ingredients
- 2 cups (250 g) all-purpose flour
- 1 tablespoon baking powder
- ½ teaspoon baking soda
- 1 teaspoon salt
- 1 tablespoon granulated sugar
- 6 tablespoons (85 g) cold unsalted butter, cubed
- ¾ cup (180 ml) cold buttermilk
- 2 tablespoons melted butter for brushing
Step-by-Step Instructions
1. Preheat Your Oven
Start by preheating your oven to 425°F (220°C). This high temperature is essential for creating those beautiful, tall biscuits with a golden crust.
Place your oven rack in the upper third position for optimal heat circulation. While the oven heats, line a baking sheet with parchment paper or a silicone baking mat.
2. Combine the Dry Ingredients
In a large mixing bowl, whisk together the flour, baking powder, baking soda, salt, and sugar. Make sure everything is evenly distributed throughout the flour.
This step ensures that the leavening agents are spread uniformly, which helps your biscuits rise evenly. Give it a good 30 seconds of whisking to eliminate any lumps.
3. Cut in the Cold Butter
Add your cold, cubed butter to the flour mixture. Using a pastry cutter, two forks, or your fingertips, work the butter into the flour until the mixture resembles coarse crumbs.
You should still see some pea-sized pieces of butter throughout. These butter pockets are the secret to creating those flaky, tender layers that make buttermilk biscuits irresistible.
Keep the butter as cold as possible during this step. If your kitchen is warm, pop the bowl in the freezer for 5 minutes before proceeding.
4. Add the Buttermilk
Create a well in the center of your flour-butter mixture. Pour in the cold buttermilk all at once.
Using a wooden spoon or spatula, gently stir the mixture until the dough just comes together. Stop mixing as soon as you no longer see dry flour patches.
Overworking the dough is the number one mistake people make with biscuits. A slightly shaggy dough is exactly what you want for tender results.
5. Shape the Dough
Turn the dough out onto a lightly floured surface. Gently pat it into a rectangle about 1 inch thick.
Fold the dough in half, then rotate it 90 degrees and pat it down again. Repeat this folding process 4-5 times to create those signature flaky layers.
Finally, pat the dough to an even 1-inch thickness. Don’t use a rolling pin, as this can deflate the dough and compress those precious butter layers.
6. Cut the Biscuits
Using a sharp 2.5-inch round biscuit cutter dipped in flour, cut straight down through the dough without twisting. Twisting seals the edges and prevents proper rising.
Place the cut biscuits on your prepared baking sheet, leaving about 1 inch between each one. Gather the scraps, gently pat them together, and cut additional biscuits.
You should get 8-10 biscuits from this recipe, depending on your cutter size.
7. Bake to Golden Perfection
Place the baking sheet in your preheated oven. Bake for 12-15 minutes until the biscuits are tall, golden brown on top, and cooked through.
The bottoms should be light golden when you lift one to check. Remove immediately from the oven when done.
8. Brush with Melted Butter
As soon as the biscuits come out of the oven, brush the tops generously with melted butter. This adds extra richness and creates a beautiful, glossy finish.
Let the biscuits cool for just 2-3 minutes before serving. They’re best enjoyed warm when the interior is still soft and steamy.
Tips for Variations or Side Dishes
Cheddar Herb Biscuits: Fold in ¾ cup of shredded sharp cheddar cheese and 2 tablespoons of fresh chopped chives to the dough. These savory biscuits pair wonderfully with soups and stews.
Honey Butter Biscuits: Brush the warm biscuits with a mixture of equal parts honey and melted butter. The sweet glaze adds an irresistible sticky-sweet element.
Garlic Parmesan Biscuits: Add ½ teaspoon of garlic powder to the dry ingredients. After baking, brush with garlic butter and sprinkle with grated Parmesan cheese.
Drop Biscuits: Short on time? Add an extra ¼ cup of buttermilk and drop spoonfuls of dough directly onto the baking sheet. No cutting required!
These biscuits pair beautifully with fried chicken, country-fried steak, or a hearty beef stew. They’re also perfect alongside scrambled eggs and crispy bacon for breakfast.
Serving Suggestions
Buttermilk biscuits shine brightest when served warm from the oven. Split them open while still steaming and add a generous pat of salted butter.
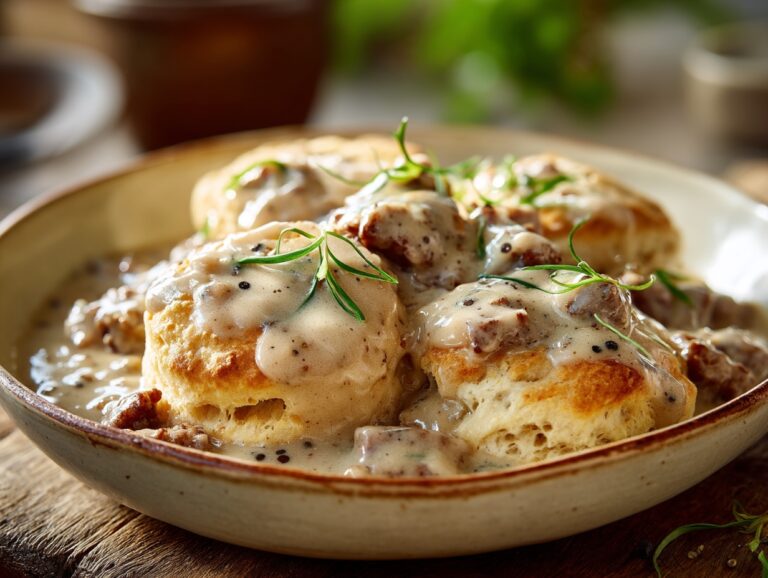
For breakfast, smother them with creamy sausage gravy for the ultimate Southern comfort dish. Alternatively, drizzle with honey or your favorite fruit preserves.
Build impressive breakfast sandwiches by filling split biscuits with scrambled eggs, crispy bacon, and melted cheese. A slice of ripe tomato and fresh lettuce elevate this to restaurant-quality status.
For dinner, serve your biscuits alongside fried chicken, pulled pork, or a warming bowl of chili. They’re perfect for soaking up every last drop of gravy or sauce.
Don’t forget that biscuits also make an excellent base for strawberry shortcake. Top split biscuits with fresh berries and whipped cream for a classic American dessert.
FAQ
1. Can I use regular milk instead of buttermilk?
You can make a buttermilk substitute by adding 1 tablespoon of lemon juice or white vinegar to ¾ cup of regular milk. Let it sit for 5-10 minutes until it slightly curdles before using.
The results will be very close to using real buttermilk.
2. Why didn’t my biscuits rise properly?
The most common reasons are expired leavening agents, overworked dough, or butter that wasn’t cold enough. Check your baking powder and baking soda expiration dates, handle the dough gently, and always use very cold butter straight from the refrigerator.
3. How should I store leftover biscuits?
Store cooled biscuits in an airtight container at room temperature for up to 2 days. For longer storage, freeze them in a freezer bag for up to 3 months. Reheat in a 350°F oven for 5-7 minutes to restore their fluffy texture.
4. Can I prepare the dough ahead of time?
Yes! Cut your biscuits and arrange them on a baking sheet, then cover tightly with plastic wrap. Refrigerate for up to 24 hours before baking, adding 1-2 extra minutes to the baking time.
You can also freeze unbaked biscuits and bake them directly from frozen, adding 3-5 minutes to the baking time.
5. What’s the best biscuit cutter to use?
A sharp metal biscuit cutter gives the cleanest cut and best rise. If you don’t have one, use a sharp-edged drinking glass dipped in flour. Avoid using dull edges or pressing too hard, as this can seal the edges and prevent proper rising.